Goal and Outcome of the Lab
By the end of this lab, we want everyone to understand how to create, manage and learn from incidents using incident.io.
Prerequisites
- Create accounts on incident.io and Slack
Part One: Install incident.io to your Slack workspace
There are just 3 steps:
- Sign Up (via Slack)
- Select your integrations
- Add incident.io to Slack
Note: you will need a Slack admin to install us due to Slack's permissions model.
-
Sign Up (via Slack)
From the sign-up page, you'll be asked to 'Sign in with Slack'.

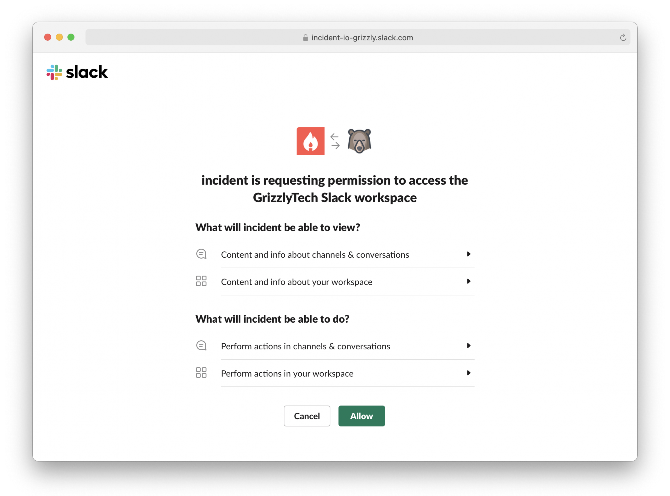
We'll create an account for you and store some basic information, like your name and avatar. We'll also ask for a restricted set of permissions in order for incident.io to work. Read more in our Security FAQs.
-
Select your integrations
This is just so we get a sense of the most-used tools in our user base. We explain how to set up your integrations ➡️ here.

-
Add incident.io to Slack
Last step: 'Add incident.io to Slack'.
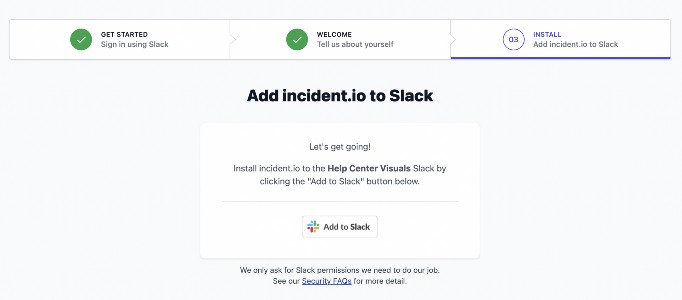
When you've done this, we'll create you an #incidents channel, and install the incident.io app into your workspace. ...all done! ⚡️
Everyone in your Slack workspace can now use incident.io — they simply need to go through the same 'Login with Slack' flow. They will not be asked to 'Add incident.io to Slack' - that step only happens once.
Let's go declare an incident!
Part two: Declaring your first incident
Something has gone wrong, and we need to respond! 🧯
There are two ways to kick off a real incident (you can create test incidents if you want to run experiments and do dry runs without affecting production incidents!).
- Use /incident (or /inc)
From any channel in Slack, typing /inc or /incident and hitting Enter will pop up the incident creation form.
💡 Tooltips
- If you know your incident's title/summary, you can type extra text directly at the end of the /incident to pre-fill the incident form's "What's going on?" field (e.g. /inc Website is down)
- Using /incident in a dedicated incident channel (the #inc-... ones) won't declare an incident, but instead will open up a menu of actions on that specific incident (e.g. change the severity, update the Statuspage etc.).
- Turn a message into an incident
You just need to hit the three built-in dots on a Slack message and click 'Create an incident' 👇🏼 (we explain how to do this in-depth).
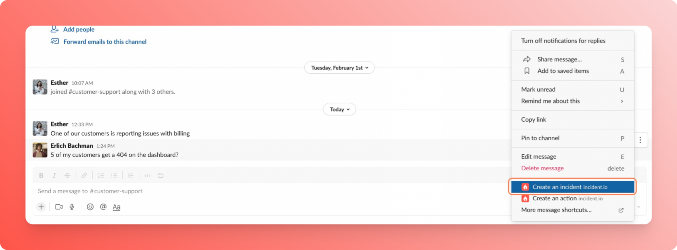
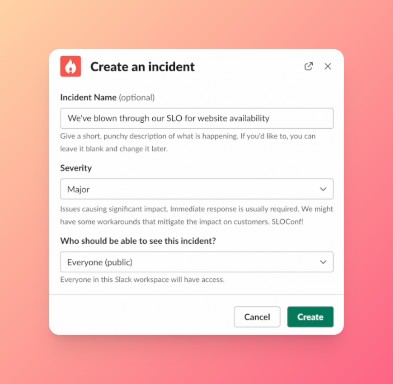
Regardless of which method you choose, we'll trigger a form asking for some basic information about the incident - all totally customisable!
💡In the heat of the moment, you don't even need to fill out the form before hitting Create: by default, we'll kick off a low-severity incident with a randomly generated name (both the name and severity are easy to change later via /inc rename and /inc update).
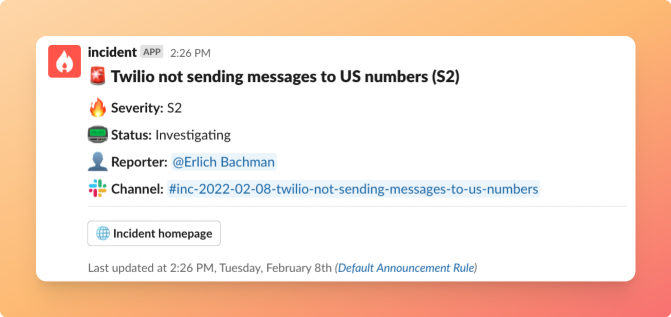
We'll also tell your team about the new incident via the incident announcements channel (#incidents by default, but you can change the announcement rules).
Ready to rumble! 🧑🚒
Part three: Managing ongoing incidents
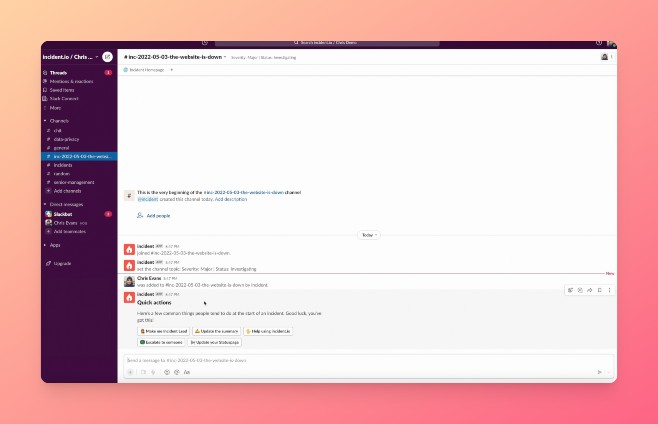
Once you declare an incident, we will automatically create a dedicated Slack channel with an attached call link for it - your digital war room. Anything you have to do, you can do straight from here, it’s already integrated with your monitoring and ticketing tools.
Provide an incident summary
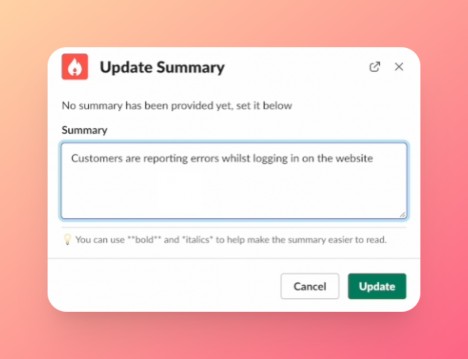
Next, you’ll need to provide a quick summary of your incident, so that when people join the channel, they’ll know exactly what’s going on. We’ll also pop this message into the general #incidents channel, so that your team will know at a glance what’s happening.
💡 You can page people for help directly from this channel with one click. Just type /incident in the dedicated incident channel and type escalate. We’ll notify and call them in for help via PagerDuty or Opsgenie straight to their email and phone. We’ll let you know right here if and when they’ve acknowledged the notification and they’ll automatically be added to the dedicated incident channel.
Now, let’s fix the issue!
Create actions
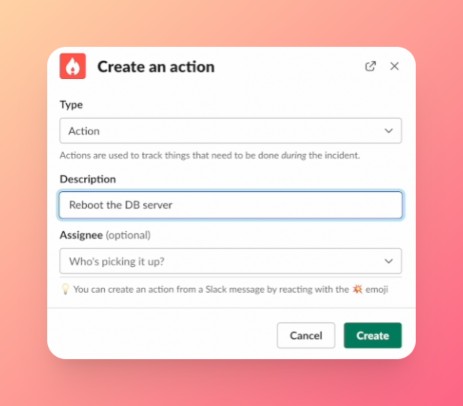
Within the dedicated incident channel, you can type /incident at any time and this will bring up a set of options. You can quick search by typing what you want to do in the search bar. Let’s say you have an idea on what should be done next and you want to create an action item. Just type “action” into the search box and create a new action.
Assign roles to actions
You can assign and pick up tasks within the Slack channel. We’ll announce it in the channel whenever a task has been picked up, so that it’s very clear who’s doing what.
Create follow-ups
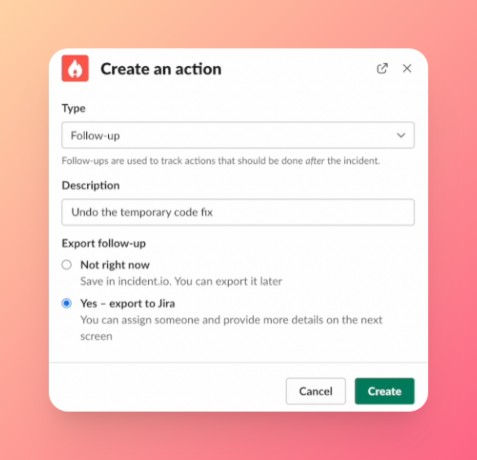
Within the actions command, you can also create follow-up actions for this incident, that will automatically be exported to Jira or Linear, so that you can, for example, undo any temporary fixes that need to be cleaned up after.
💡 You can pin important changes and messages to your incident timeline simply by reacting to them with a pushpin emoji 📌 in the Slack channel.
Let your customers know what’s going on and that you’re working on fixing it
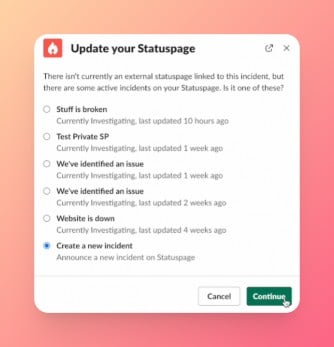
As this incident has already affected some of your customers, you might want to let them know what’s going on. You can update your public status page and/or post on Twitter straight from the incident Slack channel - it will only take you 10 seconds.
Keep your team and key stakeholders in the loop
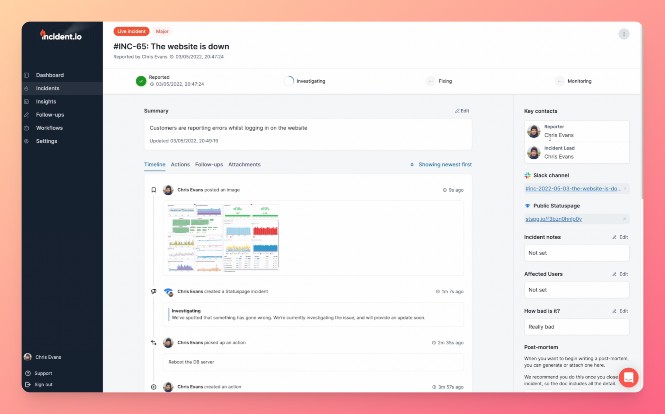
In addition to being able to monitor the live incident channel, you are also able to get a quick real-time overview of the incident timeline on the incident.io web-app dashboard.
💡 incident.io allows you to automate your incident response process. With incident workflows, you can trigger a certain set of actions, for example, email/sms executives when there’s a critical incident, prompt a decision flow when there’s an assumed security breach incident or update a status page automatically when the incident summary is updated.
Part four: Closing the incident
Once you’re done fixing the issue and everything is looking good, you can close the incident straight from the Slack channel or the incident.io web app.
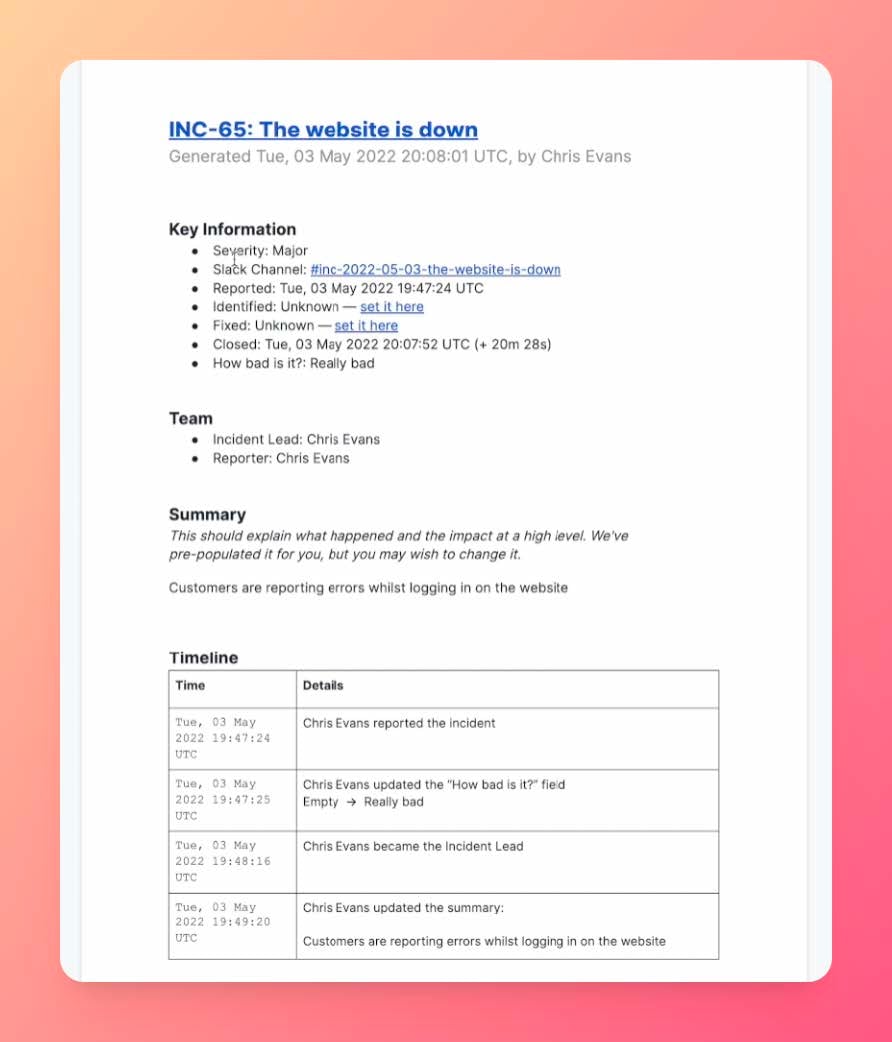
Now that the incident is closed, you can generate a post-mortem document in the web app by simply clicking a button. You can easily export the post-mortem to, for example, Google Docs or Confluence.
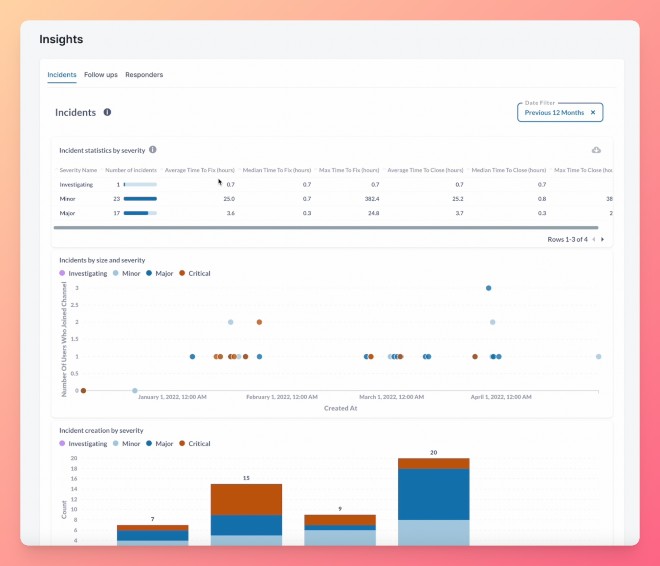
incident.io insights dashboard
The incident.io insights dashboard allows you to get more value out of and learn from incidents in order to make improvements and data-based decisions. Keep an eye on trends (MTTX, affected services etc), spot anomalies and common contributing factors to downtime, and understand how incidents are affecting your team and how much time is your team spending on being reactive vs proactive.
